Introduction
Have you ever wondered how to determine the size of a project in Linux? In this blog post, we will explore various methods to check the size of your project in Linux. Whether you are a developer or a system administrator, knowing the size of your project can be useful for resource allocation and optimization. So, let’s dive in!
Method 1: Using the du Command
One of the easiest ways to check the size of your project is by using the du command. The du command stands for “disk usage” and provides information about the disk space used by files and directories.
To check the size of your project, open the terminal and navigate to the project directory. Then, run the following command:
du -h --max-depth=1
Output:-
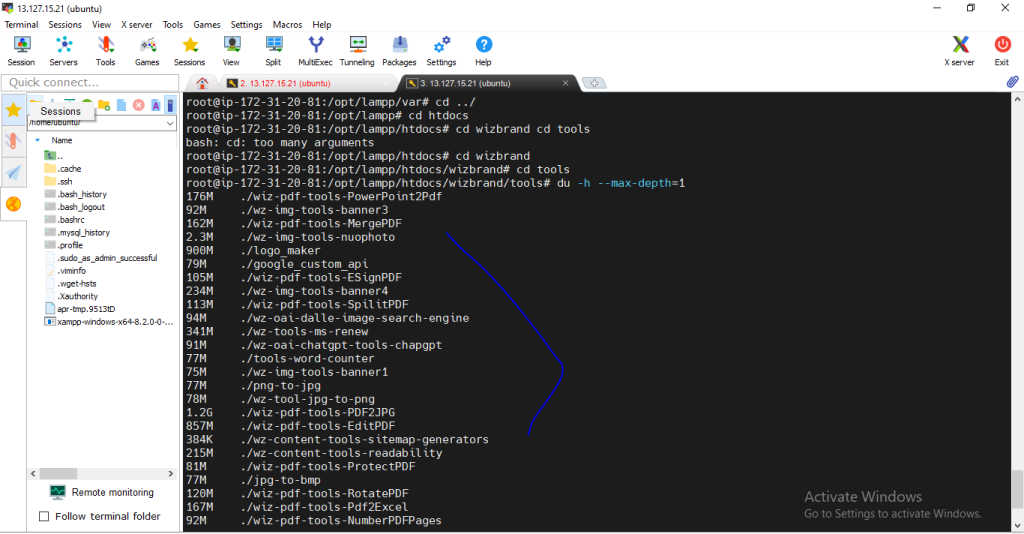
This command will display the total size of the project in a human-readable format, such as “10M” for 10 megabytes or “2G” for 2 gigabytes.
Method 2: Using the ls Command
Another method to check the size of your project is by using the ls command. The ls command lists files and directories in a directory, and with the appropriate options, it can display their sizes as well.
To check the size of your project using the ls command, open the terminal and navigate to the project directory. Then, run the following command:
ls -lh
This command will list all the files and directories in the project directory along with their sizes in a human-readable format.
Conclusion
Checking the size of your project in Linux is essential for effective resource management. In this blog post, we explored three methods to check project size: using the du command, using the ls command, and using the ncdu command. Each method has its advantages, so choose the one that suits your needs. Happy coding!