In this tutorial, we will create a file upload component with a progress bar using HTML, CSS, and JavaScript. This component will allow users to select files from their device and monitor the progress of the upload.
1. HTML Structure
<!DOCTYPE html>

<html lang="en">
<head>
  <meta charset="UTF-8">
  <meta name="viewport" content="width=device-width, initial-scale=1.0">
  <title>File Upload JavaScript with Progress | Wizbrand</title>
  <link rel="stylesheet" href="style.css">
  <link rel="stylesheet" href="https://cdnjs.cloudflare.com/ajax/libs/font-awesome/5.15.3/css/all.min.css"/>
</head>
<body>
  <div class="wrapper">
    <header>File Uploader Wizbrand</header>
    <form action="#">
      <input class="file-input" type="file" name="file" hidden>
      <i class="fas fa-cloud-upload-alt"></i>
      <p>Browse File to Upload</p>
    </form>
    <section class="progress-area"></section>
    <section class="uploaded-area"></section>
  </div>

  <script src="script.js"></script>

</body>
</html>
2. CSS Styles
/* Import Google font - Poppins */
@import url('https://fonts.googleapis.com/css2?family=Poppins:wght@400;500;600&display=swap');
*{
  margin: 0;
  padding: 0;
  box-sizing: border-box;
  font-family: "Poppins", sans-serif;
}
body{
  display: flex;
  align-items: center;
  justify-content: center;
  min-height: 100vh;
  background: #16b9e2;
}

::selection{
  color: #fff;
  background: #6990F2;
}
.wrapper{
  width: 430px;
  background: #fff;
  border-radius: 5px;
  padding: 30px;
  box-shadow: 7px 7px 12px rgba(0,0,0,0.05);
}
.wrapper header{
  color: #6990F2;
  font-size: 27px;
  font-weight: 600;
  text-align: center;
}
.wrapper form{
  height: 167px;
  display: flex;
  cursor: pointer;
  margin: 30px 0;
  align-items: center;
  justify-content: center;
  flex-direction: column;
  border-radius: 5px;
  border: 2px dashed #6990F2;
}
form :where(i, p){
  color: #6990F2;
}
form i{
  font-size: 50px;
}
form p{
  margin-top: 15px;
  font-size: 16px;
}

section .row{
  margin-bottom: 10px;
  background: #E9F0FF;
  list-style: none;
  padding: 15px 20px;
  border-radius: 5px;
  display: flex;
  align-items: center;
  justify-content: space-between;
}
section .row i{
  color: #6990F2;
  font-size: 30px;
}
section .details span{
  font-size: 14px;
}
.progress-area .row .content{
  width: 100%;
  margin-left: 15px;
}
.progress-area .details{
  display: flex;
  align-items: center;
  margin-bottom: 7px;
  justify-content: space-between;
}
.progress-area .content .progress-bar{
  height: 6px;
  width: 100%;
  margin-bottom: 4px;
  background: #fff;
  border-radius: 30px;
}
.content .progress-bar .progress{
  height: 100%;
  width: 0%;
  background: #6990F2;
  border-radius: inherit;
}
.uploaded-area{
  max-height: 232px;
  overflow-y: scroll;
}
.uploaded-area.onprogress{
  max-height: 150px;
}
.uploaded-area::-webkit-scrollbar{
  width: 0px;
}
.uploaded-area .row .content{
  display: flex;
  align-items: center;
}
.uploaded-area .row .details{
  display: flex;
  margin-left: 15px;
  flex-direction: column;
}
.uploaded-area .row .details .size{
  color: #404040;
  font-size: 11px;
}
.uploaded-area i.fa-check{
  font-size: 16px;
}
3. JavaScript for File Upload and Progress Bar
const form = document.querySelector("form"),
fileInput = document.querySelector(".file-input"),
progressArea = document.querySelector(".progress-area"),
uploadedArea = document.querySelector(".uploaded-area");

form.addEventListener("click", () =>{
  fileInput.click();
});

fileInput.onchange = ({target})=>{
  let file = target.files[0];
  if(file){
    let fileName = file.name;
    if(fileName.length >= 12){
      let splitName = fileName.split('.');
      fileName = splitName[0].substring(0, 13) + "... ." + splitName[1];
    }
    uploadFile(fileName);
  }
}

function uploadFile(name){
  let xhr = new XMLHttpRequest();
  xhr.open("POST", "php/upload.php");
  xhr.upload.addEventListener("progress", ({loaded, total}) =>{
    let fileLoaded = Math.floor((loaded / total) * 100);
    let fileTotal = Math.floor(total / 1000);
    let fileSize;
    (fileTotal < 1024) ? fileSize = fileTotal + " KB" : fileSize = (loaded / (1024*1024)).toFixed(2) + " MB";
    let progressHTML = `<li class="row">
                          <i class="fas fa-file-alt"></i>
                          <div class="content">
                            <div class="details">
                              <span class="name">${name} • Uploading</span>
                              <span class="percent">${fileLoaded}%</span>
                            </div>
                            <div class="progress-bar">
                              <div class="progress" style="width: ${fileLoaded}%"></div>
                            </div>
                          </div>
                        </li>`;
    uploadedArea.classList.add("onprogress");
    progressArea.innerHTML = progressHTML;
    if(loaded == total){
      progressArea.innerHTML = "";
      let uploadedHTML = `<li class="row">
                            <div class="content upload">
                              <i class="fas fa-file-alt"></i>
                              <div class="details">
                                <span class="name">${name} • Uploaded</span>
                                <span class="size">${fileSize}</span>
                              </div>
                            </div>
                            <i class="fas fa-check"></i>
                          </li>`;
      uploadedArea.classList.remove("onprogress");
      uploadedArea.insertAdjacentHTML("afterbegin", uploadedHTML);
    }
  });
  let data = new FormData(form);
  xhr.send(data);
}
4. PHP Script for Handling File Upload (upload.php)
<?php
if ($_SERVER['REQUEST_METHOD'] === 'POST' && isset($_FILES['file'])) {
$targetDir = 'uploads/';
$targetFile = $targetDir . basename($_FILES['file']['name']);
if (move_uploaded_file($_FILES['file']['tmp_name'], $targetFile)) {
echo 'File uploaded successfully';
} else {
echo 'Error uploading file';
}
}
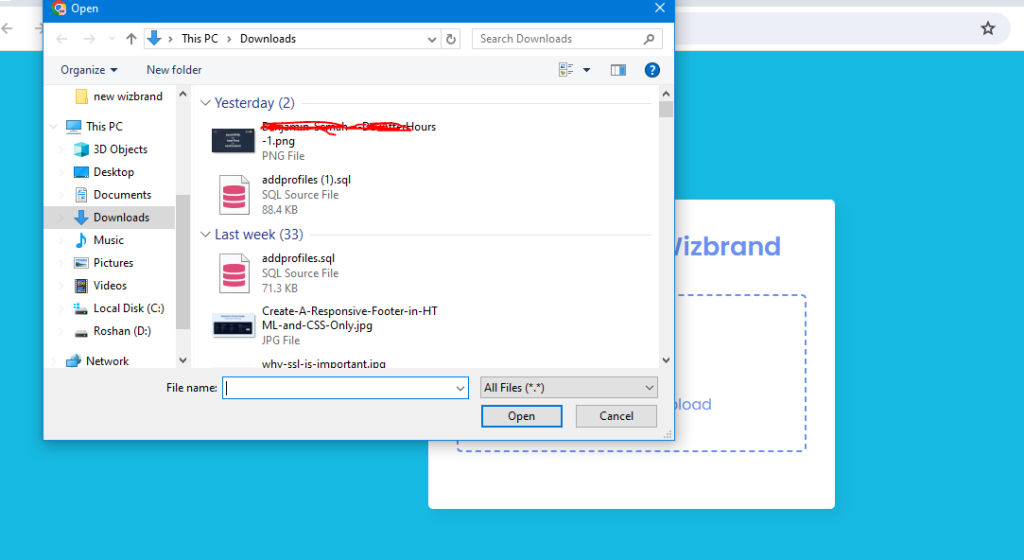
?>Output:-

Hopefully, It will help you …!!!