Introduction
Have you ever wondered how to clone a GitHub repository using the command line? In this article, we will explore the step-by-step process of cloning a GitHub repository and provide live code examples to help you understand the process better. So, let’s dive in!

Step 1: Install Git
Before we start cloning a GitHub repository, we need to have Git installed on our system. Git is a version control system that allows us to track changes in our files. If you don’t have Git installed, you can download it from the official website and follow the installation instructions.
Step 2: Find the Repository
Once you have Git installed, the next step is to find the repository you want to clone. You can search for repositories on the GitHub website or use the command line to find the repository URL.
Step 3: Copy the Repository URL
To clone a GitHub repository, you need to copy the repository URL. You can find the repository URL on the GitHub website by clicking on the “Code” button and selecting the option to copy the URL.

Step 4: Open Terminal
Now that we have the repository URL, open the terminal on your system. The terminal allows us to execute commands and interact with the command line interface.

Step 5: Navigate to the Destination Folder
Before we clone the repository, we need to navigate to the folder where we want to save the cloned repository. You can use the “cd” command to navigate to the desired folder.
Step 6: Clone the Repository
Once you are in the destination folder, use the following command to clone the repository:
git clone <repository_url>
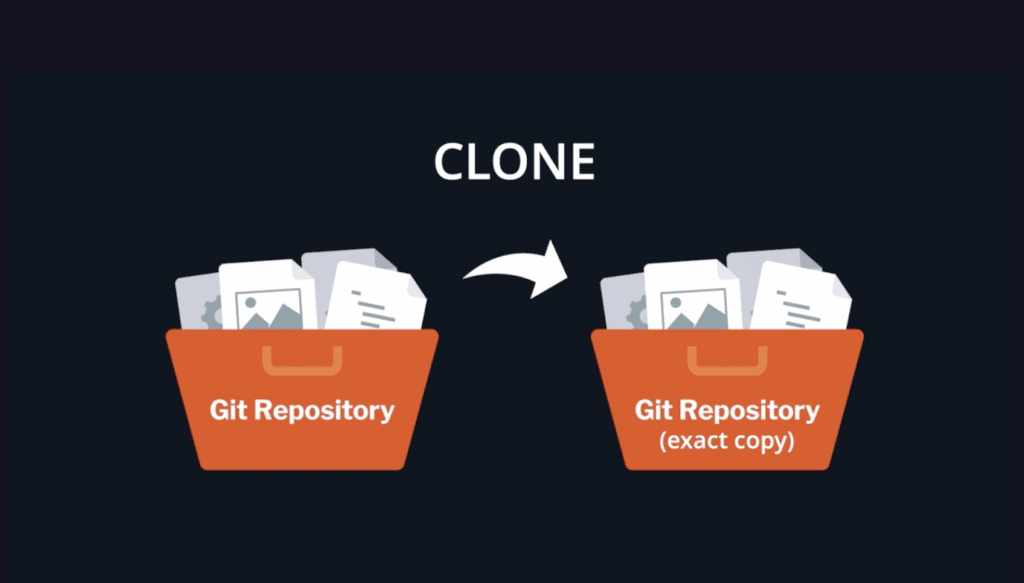
Replace <repository_url> with the URL you copied in Step 3. This command will create a copy of the repository in the current directory.

Step 7: Check the Cloned Repository
After the cloning process is complete, you can use the “ls” command to check the contents of the current directory. You should see a new folder with the name of the repository.

Step 8: Explore the Cloned Repository
Congratulations! You have successfully cloned a GitHub repository using the command line. Now, you can explore the contents of the cloned repository and make changes if needed.
Hopefully, this blog will help you !!!!