Introduction
Git is a popular version control system used by developers to manage and track changes in their code projects. One of the first steps in using Git is configuring your username and email, which allows Git to associate your changes with your identity. In this article, we will explore how to configure your Git username and email with examples.

Why is it important to configure Git username and email?
Configuring your Git username and email is important for several reasons. Firstly, it helps identify who made a particular change in a codebase, which is crucial for collaboration and accountability. Secondly, it allows Git to attribute your commits correctly, making it easier to track changes and revert if necessary. Lastly, it helps create a professional image when contributing to open-source projects or collaborating with other developers.
Step 1: Checking your current Git configuration
Before configuring your Git username and email, it’s good to check your current configuration to see if you already have a username and email set. Open your terminal or Git Bash and enter the following command:
git config --global --get user.name
git config --global --get user.email
If you see your username and email displayed, that means you already have a configuration set. If not, proceed to the next step.
Step 2: Setting your Git username and email
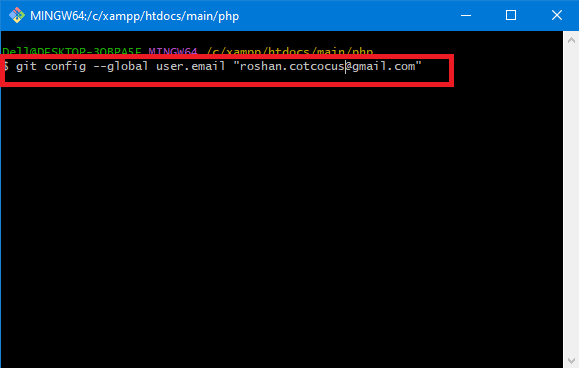
To set your Git username and email, you can use the following commands:
git config --global user.name "Your Name"
git config --global user.email "your@email.com"

Replace “Your Name” with your desired username and “your@email.com” with your actual email address.

Step 3: Verifying your Git configuration
To verify that your Git username and email have been properly set, use the following commands:
Check if the output matches the values you set in the previous step. If it does, congratulations! You have successfully configured your Git username and email.