Composer is a powerful dependency manager for PHP that simplifies the installation and management of libraries. In this guide, we’ll walk you through the steps to install Composer on an Ubuntu system using the command line.

Prerequisites
Ensure that you have the following installed on your Ubuntu system:
- PHP (version 7.2 or higher)
- Curl
Step-by-Step Installation
1. Update Your Package Manager
First, update your package manager to ensure you have the latest software list:
sudo apt update2. Install PHP and Curl
If you don’t have PHP and Curl installed, you can install them using the following command:
sudo apt install php php-cli php-mbstring curl3. Download the Composer Installer
Download the Composer installer script using Curl:
curl -sS https://getcomposer.org/installer -o composer-setup.php4. Install Composer Globally
Run the installer script to install Composer globally:
sudo php composer-setup.php --install-dir=/usr/local/bin --filename=composer5. Verify the Installation
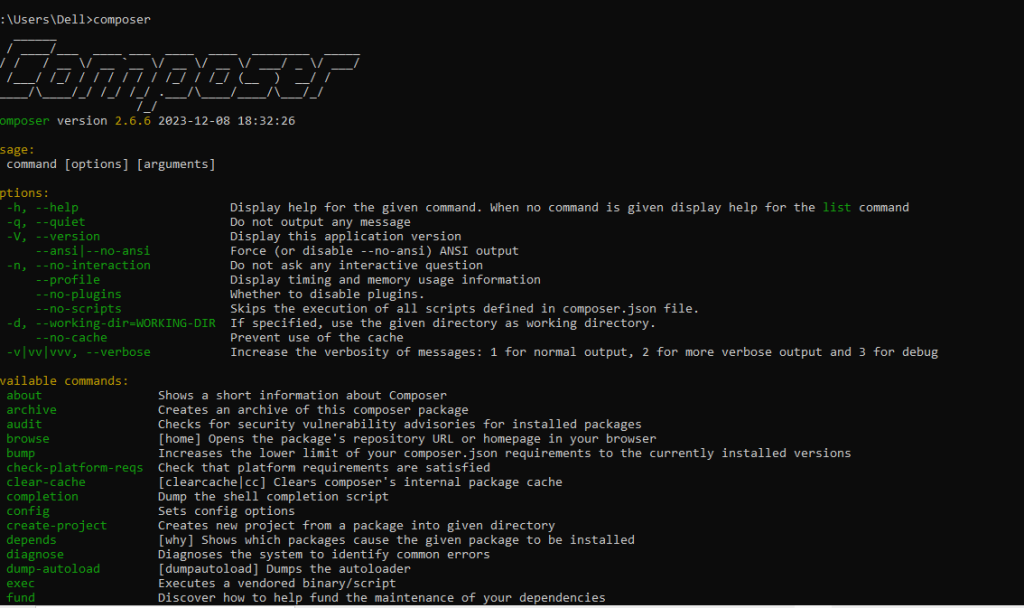
Finally, verify that Composer is installed correctly by checking its version:
composer --versionYou should see an output similar to:

Hopefully, It will help you ..!!!