In this tutorial I’m going to learn how to log-in and sign-up with Gmail and Google accounts. Please follow some easy steps defined below. After following this tutorial you can log-in with Google.
Create Google App credentials
if you don’t have a Google app account then you can create one from here: Google Developers Console.
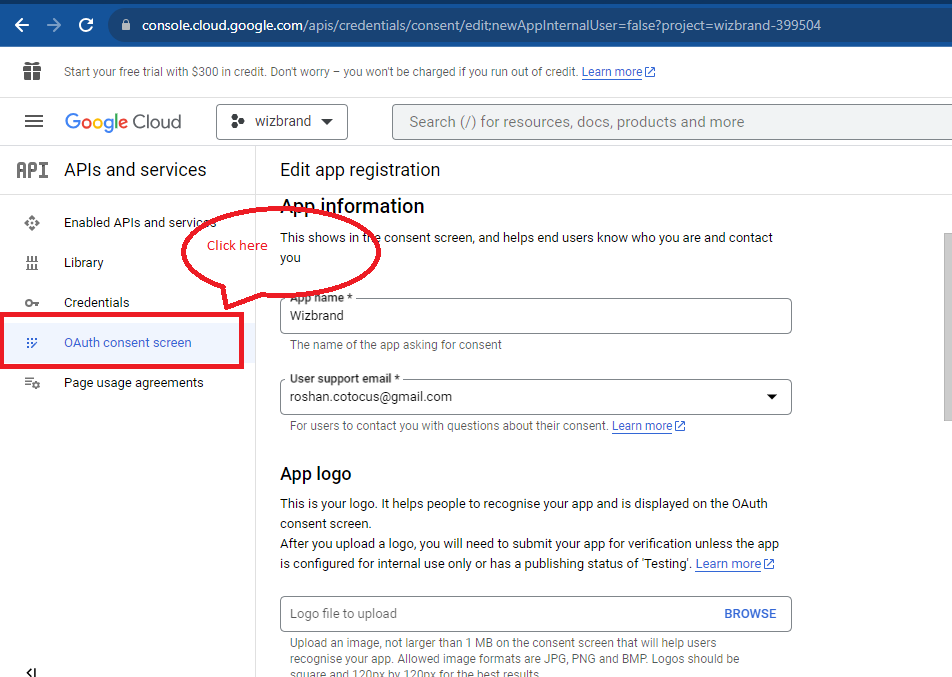
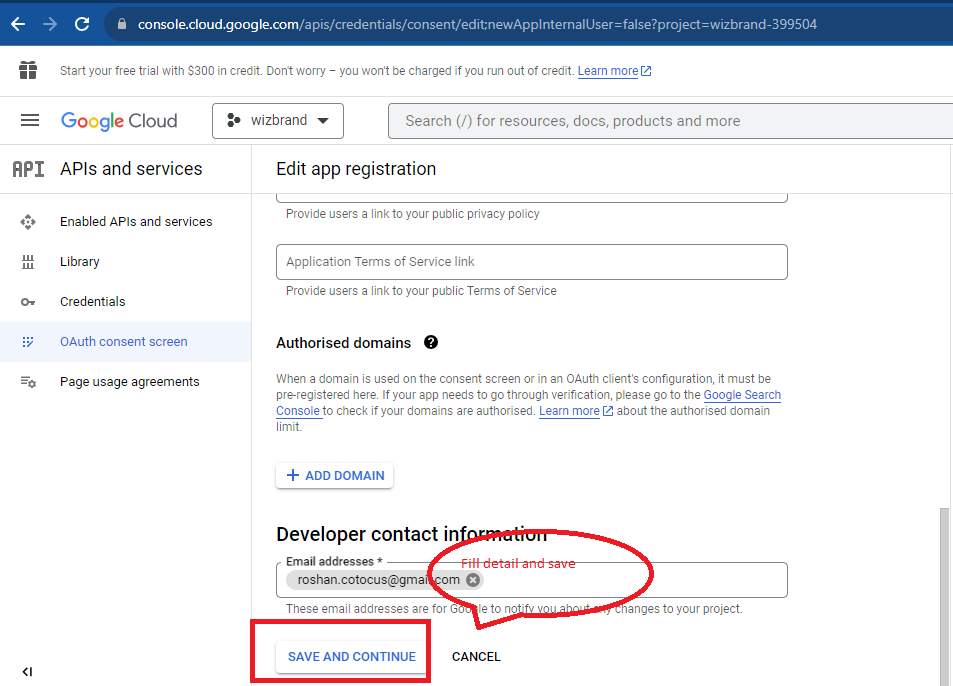
Step 2:-
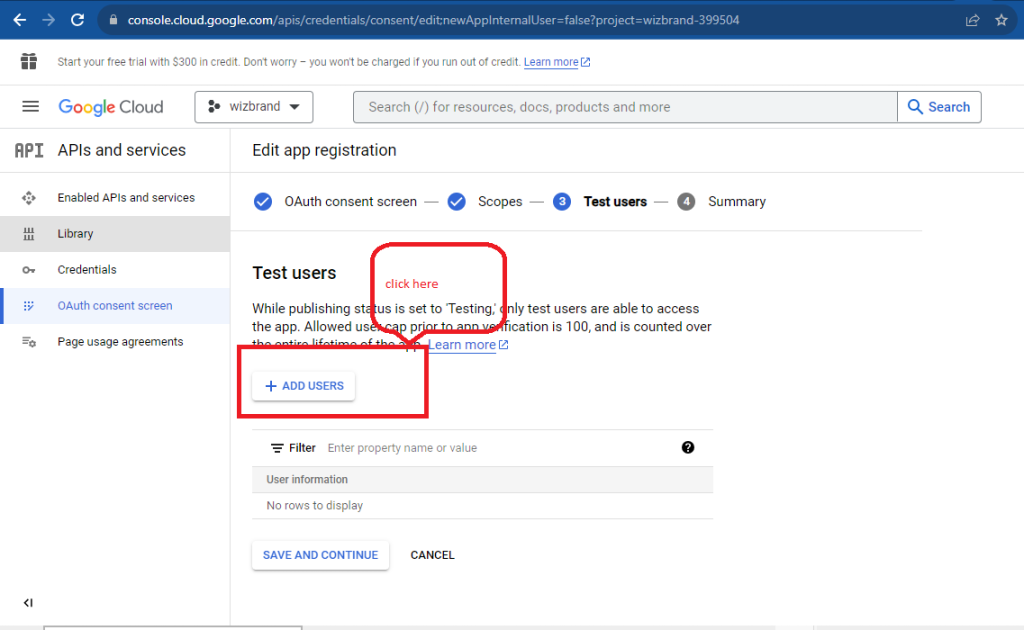
Step 3:- After filling above all steps are completed.
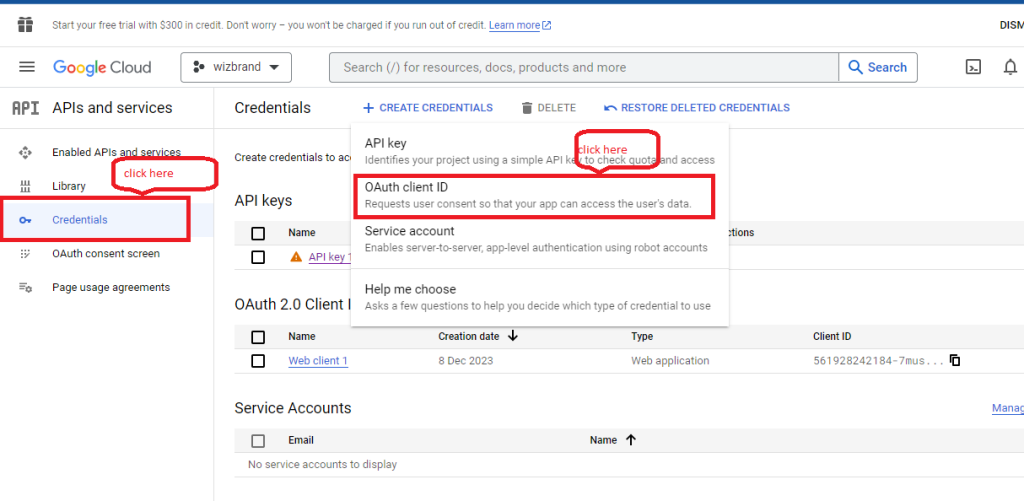
Step 4:-

Now OAuth client has been created successfully.
Now Go to your project:-
Let’s go to create authentication and run the below command
composer require laravel/socialite
Now update composer
Add provider in config/app.php file

Laravel\Socialite\SocialiteServiceProvider::class,Also, add alias in the same config/app.php
'Socialite' => Laravel\Socialite\Facades\Socialite::class,
Create a model
php artisan make:model SocialProvider -mcustomize migration social_providers
$table->increments('id');
$table->integer('user_id')->unsigned()->references('id')->on('users');
$table->string('provider_id');
$table->string('provider');
$table->timestamps();
php artisan migrateadd socialProviders() function in user model
go to register controller and paste this code
<?php
namespace App\Http\Controllers\Auth;
use App\User;
use Socialite;
use App\SocialProvider;
use App\Http\Controllers\Controller;
use Illuminate\Support\Facades\Hash;
use Illuminate\Support\Facades\Validator;
use Illuminate\Foundation\Auth\RegistersUsers;
class RegisterController extends Controller
{
    /*
    |--------------------------------------------------------------------------
    | Register Controller
    |--------------------------------------------------------------------------
    |
    | This controller handles the registration of new users as well as their
    | validation and creation. By default this controller uses a trait to
    | provide this functionality without requiring any additional code.
    |
    */
    use RegistersUsers;
    /**
     * Where to redirect users after registration.
     *
     * @var string
     */
    protected $redirectTo = '/home';
    /**
     * Create a new controller instance.
     *
     * @return void
     */
    public function __construct()
    {
        $this->middleware('guest');
    }
    /**
     * Get a validator for an incoming registration request.
     *
     * @param  array  $data
     * @return \Illuminate\Contracts\Validation\Validator
     */
    protected function validator(array $data)
    {
        return Validator::make($data, [
            'name' => ['required', 'string', 'max:255'],
            'email' => ['required', 'string', 'email', 'max:255', 'unique:users'],
            'password' => ['required', 'string', 'min:8', 'confirmed'],
        ]);
    }
    /**
     * Create a new user instance after a valid registration.
     *
     * @param  array  $data
     * @return \App\User
     */
    protected function create(array $data)
    {
        return User::create([
            'name' => $data['name'],
            'email' => $data['email'],
            'password' => Hash::make($data['password']),
        ]);
    }
    public function redirectToProvider()
    {
        return Socialite::driver('google')->redirect();
    }

    // add handleProviderCallback() function in RegisterController

    public function handleProviderCallback()
        {
            try
            {
                $socialUser = Socialite::driver('google')->user();
            }
            catch(\Exception $e)
            {
                return redirect('/');
            }
            //check if we have logged provider
            $socialProvider = SocialProvider::where('provider_id',$socialUser->getId())->first();
            if(!$socialProvider)
            {
                //create a new user and provider
                $user = User::firstOrCreate(
                    ['email' => $socialUser->getEmail()],
                    ['name' => $socialUser->getName()]
                );

                $user->socialProviders()->create(
                    ['provider_id' => $socialUser->getId(), 'provider' => 'google']
                );

            }
            else
                $user = $socialProvider->user;

            auth()->login($user);

            return redirect('/home');

        }
}
add routes in web.php
Route::get('auth/google', [App\Http\Controllers\Auth\RegisterController::class, 'redirectToProvider']);
Route::get('auth/google/callback', [App\Http\Controllers\Auth\RegisterController::class, 'handleProviderCallback']);
Let’s go to User.php and add this function
 function socialProviders()
        {
            return $this->hasMany(SocialProvider::class);
        }
Next go to SocialProvider.php and this function

protected $fillable = ['provider_id','provider'];
     function user()
    {
        return $this->belongsTo(User::class);
    }
.env
Add
client_id =Add your client_id
client_secret = Add your client_secret
redirect = https://www.wizbrand.com/auth/google/callback
Add Login with Google Button On Blade File
  <button class="btn btn-primary">
    <a class="text-white" href="{{ url('auth/google')}}">Google Login</a>
  </button>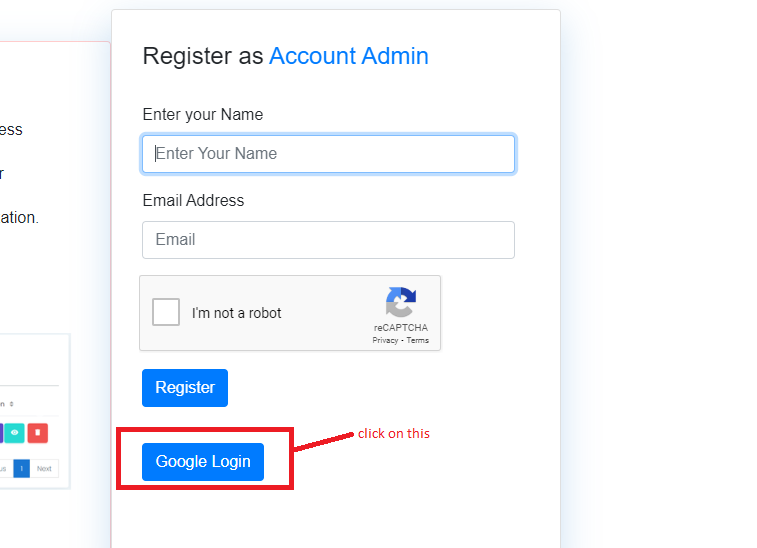
Now continue with Google
But after this, you can try in live because in callback function using HTTPS does not work in the local
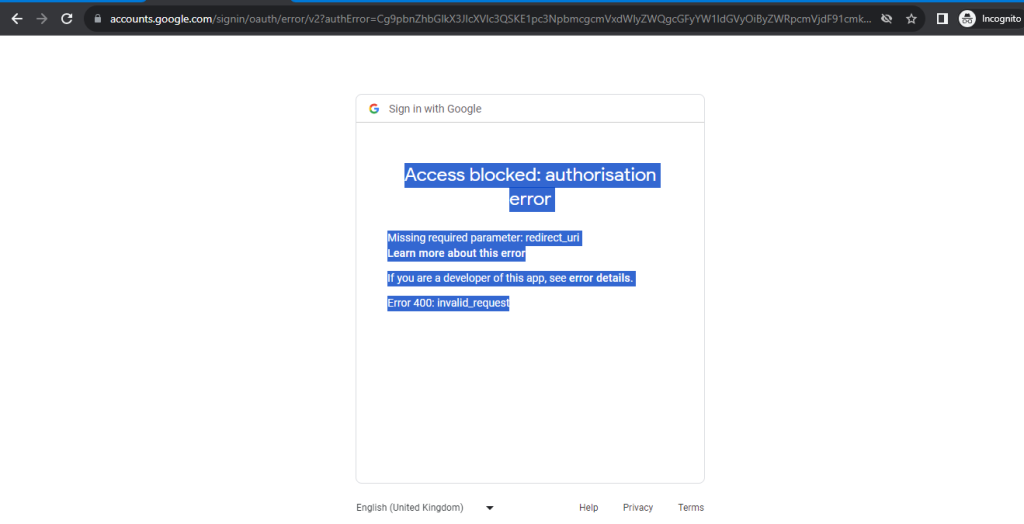
so that’s why I said you try on live.

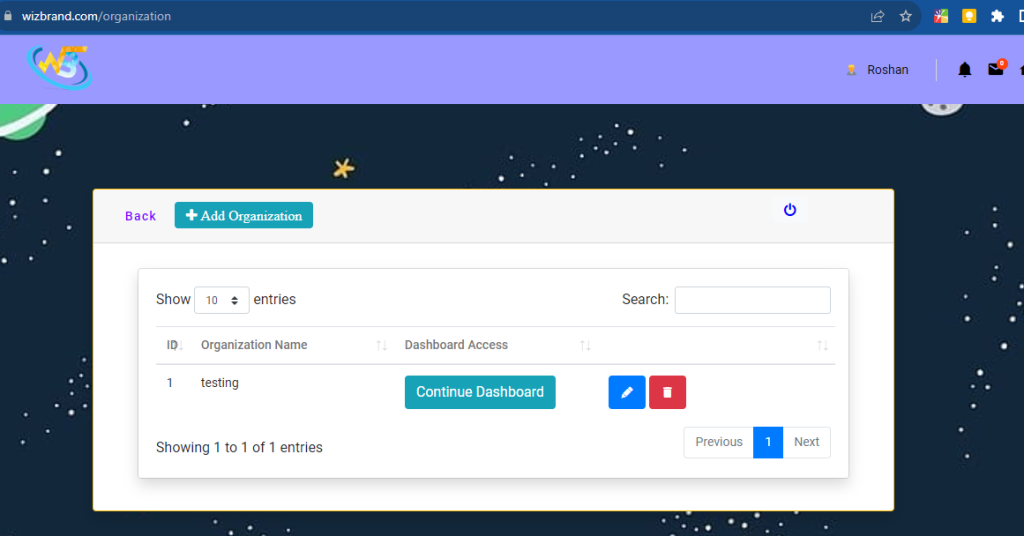
I hope this tutorial is very helpful for you, if the code is not working properly please comment below thanks for reaching out.